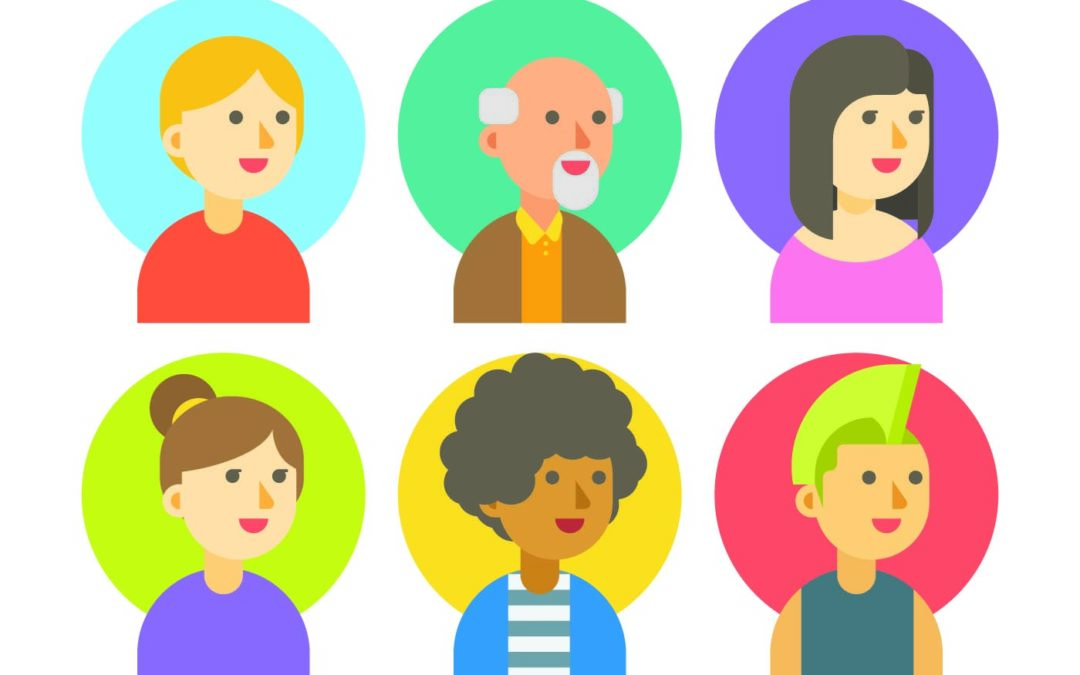
Even if you don’t know the term, if you’ve used a computer in the past couple of decades you’ve seen an avatar. Avatars are digital graphical representations of the user, either as themselves or an alter ego, in both 2-D (like a BitMoji) and 3-D forms (like in Second Life). Today, avatars are used everywhere from message boards to video games, but they can also have some fun and interesting applications in the classroom. Of course, to be able to use one, you first have to make one.
Here, we’ll explore some of the tech tools out there for making a wide range of avatars.
Sites to Try
Popular Avatar Tools
These are some of the most popular sites for creating avatars. Learn more about each here.
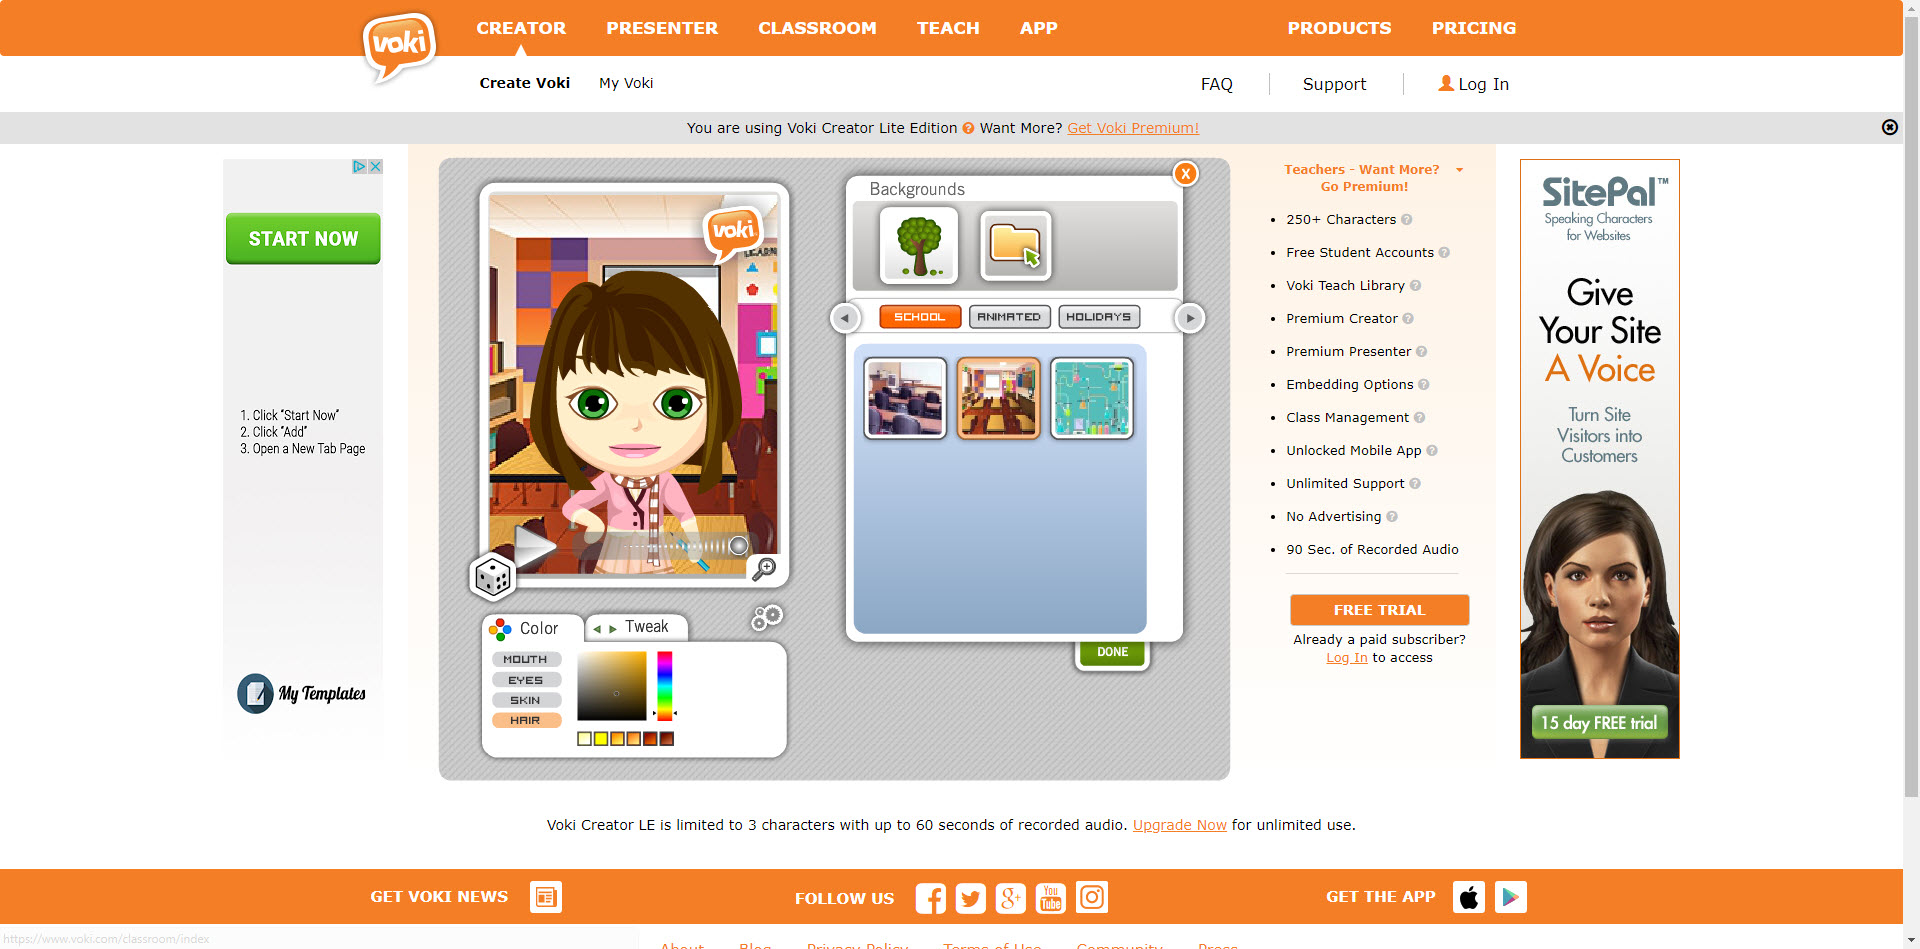
Voki
Voki is an online avatar creation tool that allows users to create a talking character. Characters can be customized to look like you, historical characters, animals, or just about anything else you could imagine.
Pros: Because Vokis are animated, they can be a lot of fun to converse with students with or to have students converse with each other. Voki offers education-focused options like Voki Classroom, Voki Teach and Voki Presenter as well, providing a wealth of options for those who want to use the site in their courses.
Cons: Voki is one of the more popular avatar tools, but for many applications, it’s far from the best. One of the biggest drawbacks to Voki is that it’s Flash-based. That means it won’t work on many mobile devices or in browsers than don’t support Flash. Whether or not that’s a deal breaker depends on how you plan to use the site, of course. The other big drawback is that all but a few Vokis cost money to use, and the bulk of the resources on the site are behind the paywall. Finally, it isn’t always intuitive to use and the amount of effort that goes into creating a Voki may not have a significant return–other resources simply do it better.
How to Use
If you want to give Voki a try, it’s easy to get started. You’ll only have a few options to choose from if you’re not paying and customization of them is limited, but it’s a good way to get a feel for the site. One of the most popular applications of Voki is as a means to connect in the online classroom. It can add a more personalized feel and give students more than a name and a profile pic to go on. But Voki can also be used to introduce lessons and highlight important information. Students can use Vokis to give presentations, complete assignments, or take part in oral segments of a language course. Your Vokis can be embedded into most LMS systems and PowerPoint presentations.
Alternatives
There aren’t a ton of talking avatar sites but there is one fairly well-known alternative:
Additional Resources
Ways to Use Voki in Higher Education
5 Innovative Ways to Use Voki in the Classroom
Using Voki in the Higher Ed Classroom, Best Practices (Video)

Bitmoji
Bitmoji is an app that lets you create your own personalized emoji/ cartoon-based avatar. Your avatar is then turned into a variety of stickers with catchy taglines that you can use on social media, Google apps, or virtually anywhere, since you can easily save them as photos.
Pros: Bitmoji is completely free, easy to use and most of the stickers are very fun and irreverent, making it easy to engage students. It’s often possible to make them look almost eerily similar to you in real life, which can be a great way to add presence in the online classroom.
Cons: One of the biggest drawbacks to Bitmoji is that if you want your students to use it, they will need a smartphone or tablet since it is app-based. Additionally, not every Bitmoji is classroom appropriate, which while even if students use discretion in what to post, some may be offended by the content. Bitmoji are also not animated nor do they have audio, so they are not a good solution for those looking for something interactive.
How to Use
To get started with Bitmoji, you’ll need to download the app on your mobile device (iOS/ Android). Bitmoji also has a Chrome extension that allows you to use it directly in the browser (and Gmail and Slack), without having to go to your mobile device. Once you sign up, you can then create your Bitmoji, customizing it to look how you want. There are numerous options, and you can go as realistic or as bizarre as you want. Once created, you can use your Bitmoji in a wide range of ways. Try them out to give feedback in Google Docs, to motivate students in your Blackboard announcements, or just to jazz things up and keep students interested.
Alternatives
Other sites that offer similar functionality though are not identical to Bitmoji are:
Additional Resources
Make Learning Better with Bitmoji
Using Bitmoji in Your Classroom
Here’s Every Single Use of Bitmoji in One Easy List

GoAnimate
Need your avatar to be easily inserted into a video? GoAnimate is a possible solution. It offers a cloud-based platform that makes it easy to quickly create and share videos.
Pros: Making animated videos can often be difficult, but GoAnimate allows users to do so with simple drag and drop functionality. Even better, there are pre-sets for the level of complexity you need and themes, and you can scope out other user videos to get an idea of what’s possible with the platform. These kinds of videos can add a lot to your course content and can be reused as long as they are still relevant.
Cons: If you’re looking for a free solution, GoAnimate isn’t that. It costs just under $80 a year for an instructor account, which isn’t incredibly high, but it’s not free either. And while it is easier to create a video in GoAnimate than on your own, there’s still a bit of a learning curve. One other knock against it that some of the features are limited. You can’t edit audio, draw custom shapes, and the character library can sometimes be inadequate. Finally, because it is web-based, you will need to be online to create a video and will need significant bandwidth–something that’s not always available on shared wifi.
How to Use
If you want to try out GoAnimate, you can sign up for a 14-day free trial. Once you have an account created, it’s relatively simple to choose the type of video you want to make and start placing elements within the video. When you are finished, you can share your videos in a variety of ways. Because of the video-based format, GoAnimate can be used in a wide range of applications in the classroom, from course reviews to showing a moment in history in motion. The options are only limited to what characters and settings are available.
Alternatives
GoAnimate is hardly the only animation tool out there. Here are a few more to explore:
Additional Resources
Oh, The Things You Can Do with GoAnimate!
Cartoon-Style Solutions
Looking for a really basic avatar creation solution that will give you a cartoony feel? These options might be a good fit.
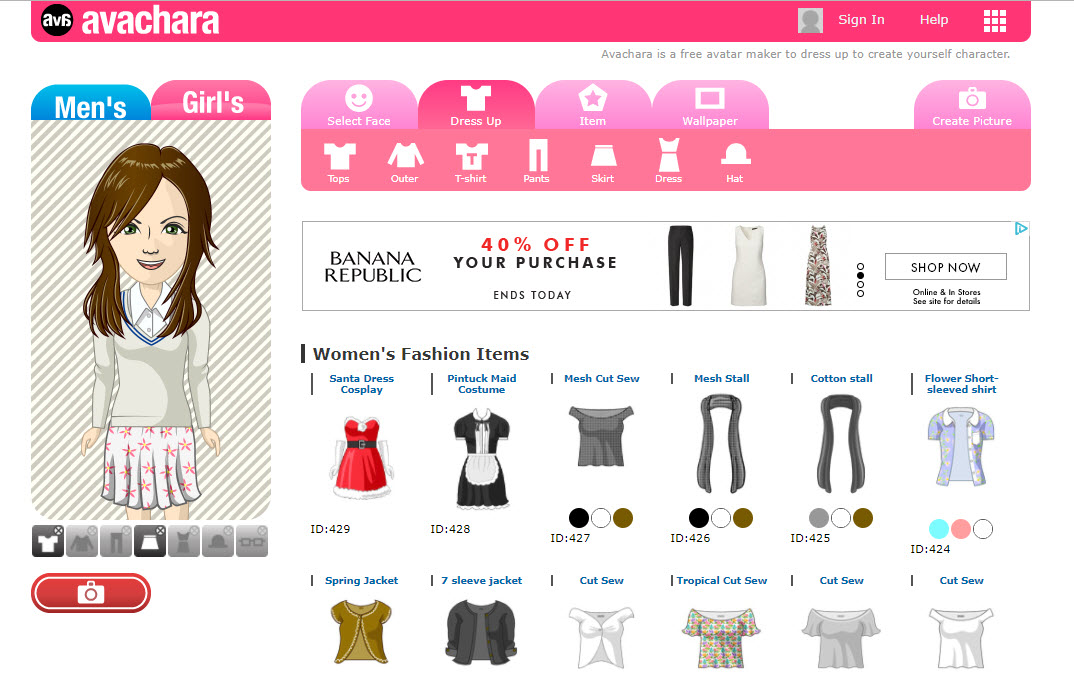
Avachara Avatar
Avachara Avatar lets you create an anime-style avatar with a few simple clicks. You can choose facial features, clothing, items and even backgrounds for your avatar.
Pros: Because it’s a basic avatar, it’s pretty easy for just about anyone to hop on and start creating–there isn’t much of a learning curve. The site is also free to use, which can make it attractive for instructors who want to make several avatars or have students make their own. Another benefit is that you can create both a full body or profile version of your avatar.
Cons: The site is sometimes slow to load, which can be frustrating, though it is overall easy to use.
How to Use
Just head to the site and start choosing your options to get started. Once you’re happy with your avatar, you can drag and drop it to the desktop to save. For an additional fee, you can create an avatar with a transparent background, making it easy to place on top of other images (though you could also do this in Photoshop yourself, we can show you how). Using a photo editor, you could add word bubbles to your avatar, adjust it seasonally, or give it some motivational flair and have it be a fun way to communicate with students aside from the usual announcements and reminders.

Cartoonify
As the name might suggest, this site lets you create a cartoon version of yourself (or whomever you’d like), no apps or downloads necessary.
Pros: Cartoonify is fairly straightforward to use and offers a lot of options for customization. Because it’s free, it can also be used by as many students as you’d like and as many times as you’d like.
Cons: The problem with this kind of avatar is by design–it’s really basic. It’s essentially a replacement for a picture of you. The site itself isn’t the best, as well, and can be kind of buggy as it is loaded with ads (many of which are very easy to accidentally click on) that help to keep it free.
How to Use
Head to the website and follow the step-by-step instructions to create your avatar. Once you’re done, you can save the image and use it where you’d like. One of the main applications of an avatar like this is to use in place of a picture in your course, but you could also integrate it into a wide range of settings, from course reviews to videos. Essentially, anywhere you might want to pop in and see your students, you can do so with the cartoon version, too.
Alternatives
You might want to check out these other cartoon-type avatars:
For the DIYer
Like doing it yourself? Give these ideas for avatar creation a try.

Make 8 Bit Art
The name of this site couldn’t be more self-explanatory. You can use it to create retro-style 8-bit art, including a charming little avatar.
Pros: Perhaps the biggest pro of this tool is that it’s open ended, you can do just about anything with it you want. Even better, if you want to create a more refined image, you can adjust the brush size accordingly.
Cons: Two big drawbacks here: you have to have some artistic skill and it can be time consuming to create avatars in this way. Some users may also find it confusing to figure out how to save and use their creations.
Alternatives
How to Use
To use this tool, just head to the site and start drawing. Once you’re done, the image can be exported and used anywhere you can insert an image. This could be a fun project for students to take one as well, especially in classes geared towards media history, programming, or gaming.
Have another avatar tool you use and love? Share and we can add it to the list! Need help using any of these tools? Let us know! Email learningtech@cod.edu or stop by BIC 3401.
