

Before reading any further, please make sure you have read my initial post on Panorama, where I explain how to set it up for your courses in Blackboard.
The point of doing this setup is to then be able to get an accessibility score on all your course elements, detect issues, and fix them, so your courses are accessible. Because, y’know, that matters.
First off, if you see this Panorama icon next to one of your course elements,

that’s good. It means your course element is accessible.
More specifically, if you click on the icon, you will see the options available for alternatives.
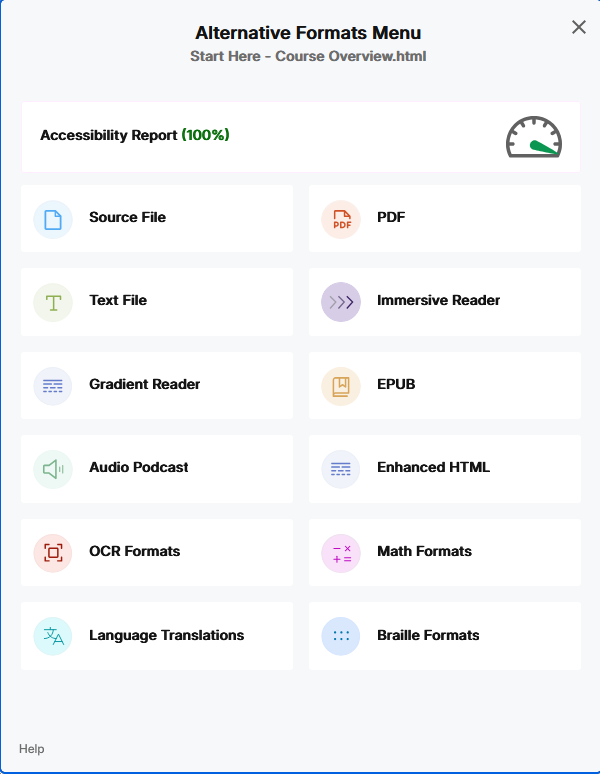
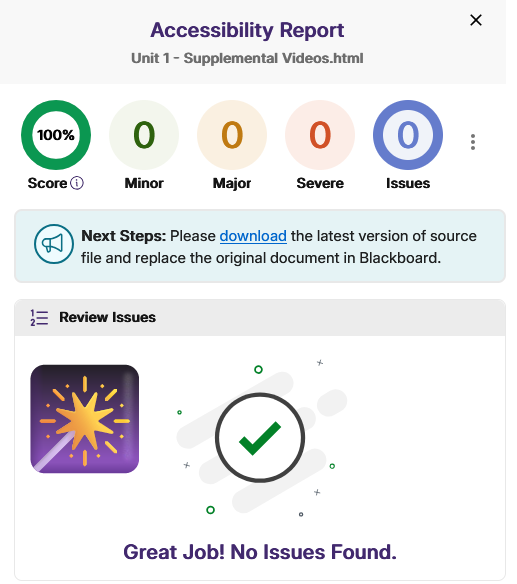
Click on a few of those to see the output they produce. As you can see, my accessibility score is 100% on this element, so I’m good to go.
I’m sure everything else will be like that (insert eyeroll emoji).
Moving on to the next element.

Oof. Let’s take a closer look.

Ok, so, the accessibility score for this part is 45%, and I have 14 (!!) issues to fix. If you click on the little gauge, you will exactly what the issues are, classified by importance or severity of the issue.

In this first case, I’m going to focus first on the minor issue, which is text size. Thankfully, Panorama has an easy fix for that one. You can click on the “Fix Issue” button.

In this case, I am going to accept the replacement font size offered, but I also checked the “Add change to all instances of this issue”. That is, Panorama will fix the font size issue everywhere it finds it in this course element. Then click on Add Change.
Panorama then shows me all the changes it will make:

Then click on Apply Changes.
This quick fix pushed my score to 57%.

The next issue I’ll fix is this one:

Here as well, I will click on the Fix Issue button (I’m using a different course element for this).
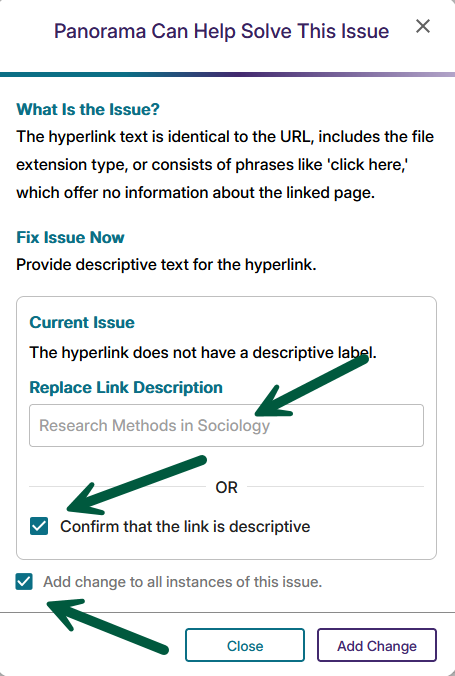
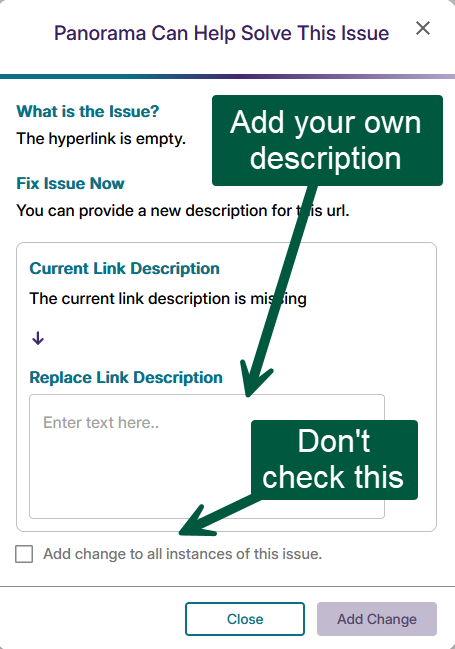
In this case, you can either provide a new link description or check the box to confirm it’s descriptive. If you choose the latter, I recommend also checking the box and making the same change to all the elements that have that issue.
However, depending on how you included the videos into your document (link or embed code), the check box to confirm that the link is not descriptive might not be available, so you will need to do it the manual way, for each embedded video, since the description will be different for each.
After you click Add Change, Panorama will show you a list of the changes you’ve made.

Click Apply Changes one more time.
These small changes get me a perfect accessibility score:
This may look a bit tedious to do but making those changes literally only took a few minutes. I spent way more time creating all the screenshots and writing this post.
