For those of you keeping track at home, fixing my low-scoring content increased my course accessibility score from 75% to 89%.
In this post, let’s see what happens to that score once I fix my medium scoring issues. A quick overview tells me that the issues are different and that I may not be able to solve them in Ally. This means I may need to go back to my word processor, fix my problematic documents, and then re-upload the fixed version.
Back to the dashboard it is, then:

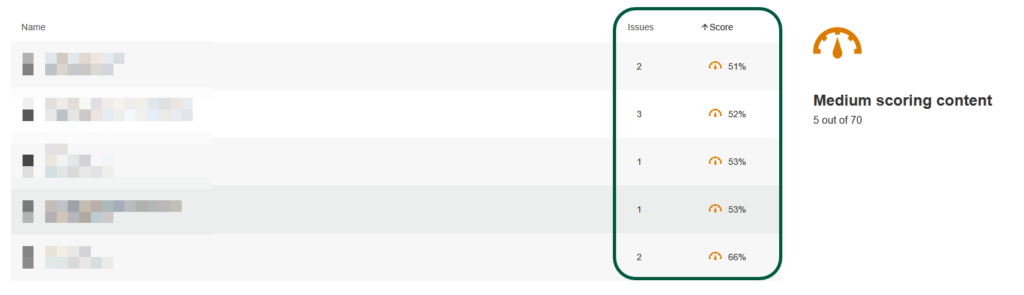
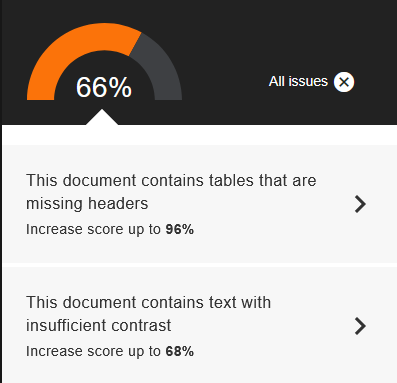
As you can see, I have 5 items to fix. Let’s dive in.
As with the low scoring issues, clicking on the dial circled above takes me to a more specific list of which content items I will need to fix, and how many issues each item has.
As predicted, I won’t be able to fix the first item inside Ally. How do I know? There is no fix option, only some guidance on how to do it. If you click on these buttons, depending on the issues, you might get some links to Microsoft Office or Libre Office documentation on how to solve the issue at hand.
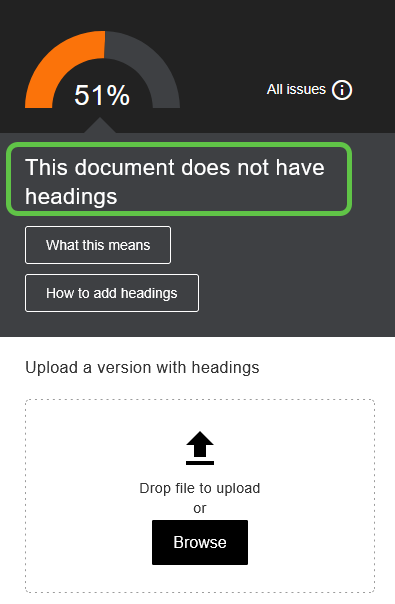
And then the only option is to re-upload a new version of the document after fixing it. The issue, in this case, is that I did not use actual headings to sequence the document, but I only used bold text. So, quick reminder, always use a proper styling so a screen reader can follow your document in its logical order. That means using this menu (in Word):
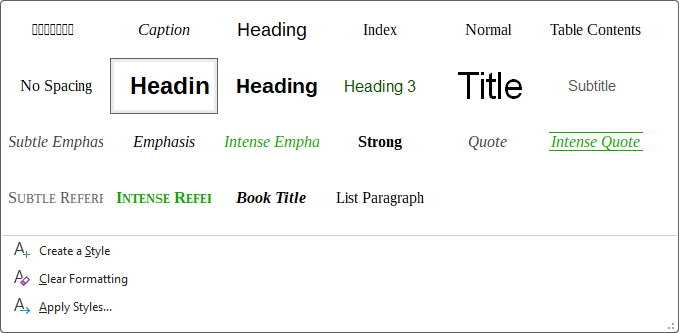
Note that if you don’t like the default styles, you can create your own by clicking on Create a Style.
Just changing from bold to proper styling options solves most of the issues in the document, however…
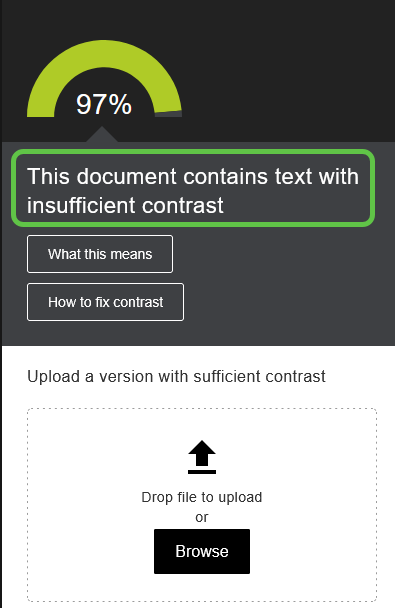
Drats.
Actually, resolving contrast issues in Word is pretty easy. Just click on the accessibility icon (in my case, it’s at the bottom of the screen). Chances are, Word will have picked up that contrast issue and will offer alternative colors that have sufficient contrast. It usually offers three. Just click on the one you want, save, and done.
This little demonstration shows one important thing when it comes to fixing content for accessibility: it’s iterative. It’s not necessarily going to be once and done when you have to go outside of Blackboard to fix two or three separate issues.
Moving on to the next document:
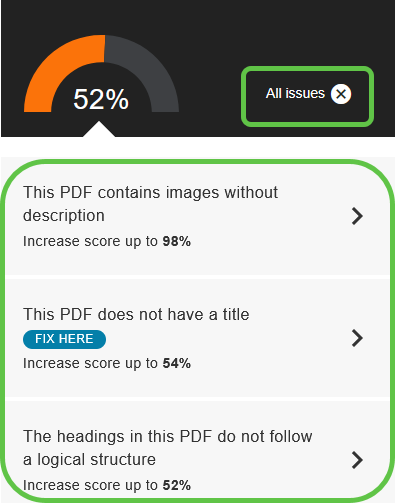
In this case, Ally flagged three issues. I have already addressed the question of images without descriptions in my previous post. However, since it is an image inside a document, Ally does not offer a fix, as it does when the document itself is an image. So, again, I’m going to have to go do that in Word.
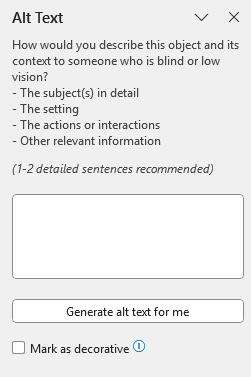
In Word, open your document, find your image and right-click on it. Select “View alt-text”, This will open a panel where you can enter your image description.
The second issue is that the pdf does not have a title, but luckily, Ally offers a fix.
The last issue is that of logical structure. In this case, in that document, I had not started my headings with Heading1, but Heading2 instead. So I had to fix that too to get my 100%.
Last type of issue I needed to fix:
FSM help me, I love me some tables. I find them a great way to organize information. However, if, like me, you like tables, never forget to set the first row as headers.
In Word, this is where you would check that setting:

Don’t forget to save any changes you make to your original documents before re-uploading in Blackboard.
So how much did I gain by doing all this?
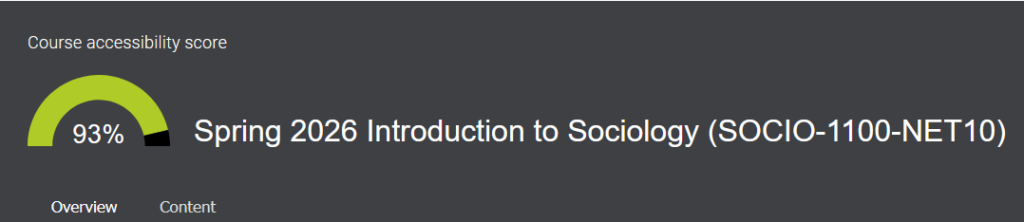
Nice. But because I had to go back and forth between Blackboard and my word processor, that took longer than applying fixes inside Blackboard. So, overall, about 30 minutes, which includes all the times I had to stop and take screenshots. The things I do for y’all.
