While most faculty have used the Blackboard Content Creation Menu (the menu that comes up when you select Build Content) to some degree, not knowing what every part of the menu does is pretty common. Some things you just might not have needed to use and others have a bit of a not-quite-so-clear purpose.
We’re here to help! In this article, we’ll go through each and every menu item and explain what it does and how you’ll use it.

Text Tools
It doesn’t get much more basic than these tools. These are the usual tools that you’ll see in any text editor, including:
- Bold, Italic, Underline or Strikethrough
- Heading, Subheading 1, Subheading 2, and Paragraph
- Font Face and Size
- Create Bulleted Lists or Numbered Lists (use the drop down menus to customize these)
- Text Color
- Text Background This essentially highlights the text. Make sure you use colors that have enough contrast to still be readable and accessible for students.
Rounding these out is a tool that you might not have used: Clear Text Formatting. This is very useful if you are copying from an outside source like Word where there might be existing formatting that can display strangely when pasted into Blackboard. When you highlight text and use this tool, you’ll remove all that formatting and can reformat it in Blackboard itself.

Editing Tools
Next up on the menu is a pretty basic but essential set of tools that allow you to quickly and easily make edits to your content.
- Cut
- Copy
- Paste
- Find and Replace Search for any word or phrase and/or quickly replace it throughout your content area.
- Undo
- Redo
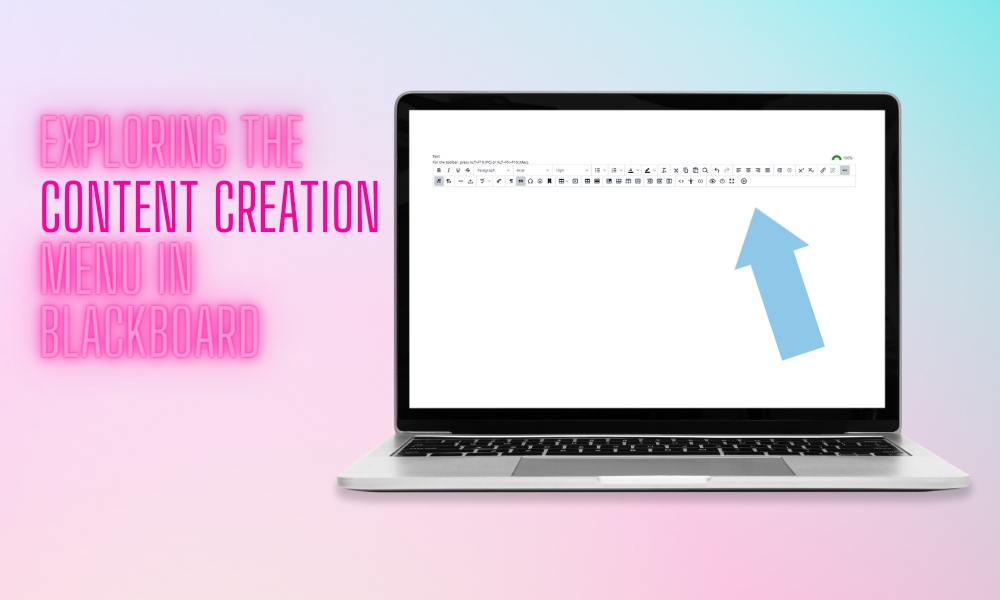
Alignment Tools
These tools allow you to choose how your text displays. Again, a very basic editing tool, but one that you’ll use quite a bit.
- Left
- Center
- Right
- Justified If you aren’t familiar with this, it spaces your text so that it fills out an entire content area as much as possible.

Indent Tools
These tools are an extension of the alignment tools, but will help you fine tune how your paragraphs display.
- Increase Indent
- Decrease Indent

Script Tools
If you need to add text above or below the standard lines of text, these tools make it easy to do so.
- Superscript
- Subscript

Link Tools
This is another absolute workout set of tools that are essential to create content in Blackboard.
- Create Link: Simply highlight the text and click on this tool to turn it into a link.
- Remove Link: Made a mistake or just want to remove a link? Highlight the text and click on this tool to take out the link.

Paragraph Tools
This probably isn’t something most instructors will use a lot, but these tools allow you to change which side your paragraphs align to. You can select the standard left align or go with a right align, which might make more sense if you have other elements on the page you want to work the text around.

Spacing Tools
These tools allow you to better structure how your text is arranged on the page by adding lines and text breaks. There are two tools here:
- Horizontal Line: Pretty self explanatory here but adds a horizontal line to your text that breaks up areas on the page.
- Non-breaking Space: A non-breaking space is a space character that prevents an automatic line break and in HTML from consecutive whitespace characters from being collapsed into a single space.

Spellcheck
Don’t let spelling errors sneak through! This tool makes it simple to quickly check your text for spelling errors in either English or Spanish.

Math Equations
Using this menu item, you can insert a math equation into your text. When you click on it, a separate menu called MathType will come up. There you will find all the notations and formatting that you need to create math equations in the Bb Content Builder.

Special Formatting and Type Tools
This set of tools goes beyond the basics and allows you to customize your text in ways that are both fun and important to your page formatting.
- Show Invisible Characters: You will mostly use this tool to see where spaces are in your text as these are “invisible” but important page elements. Why use it? Spaces can sometimes mess up your formatting or make copying and pasting important information accurately tricky.
- Quote: The quote tool allows you to select text and have it indented as a pulled out quote.
- Special Characters: When you click on this tool, a menu comes up allowing you to choose or search for a wide range of special characters and symbols.
- Emoticons: Add a little flair to your text by adding emoticons.
- Anchors: This is the most important tool in this grouping as it allows you to add anchored links. Anchored links link within the page itself (not to another page), making it possible to create structural elements like a table of contents that take students immediately to important information in your content.

Tables
The next section of tools is all about creating, editing and formatting tables. These tools, save the first of them, will be grayed out if you do not currently have a table on your page.
The first tool is the Create Table tool. Here, you’ll select what size of table you want by dragging the arrow to the appropriate size. Once you have a table, this tool will also allow you to choose properties and edit the number or content of your columns and rows. The most commonly used of these tools are duplicated on the main menu and we’ll talk about them below.
Delete Table: Made a mistake or changed your mind? The next tool is the delete table tool. Simply click here to remove your table.
Table Properties
Up next, there are three tools that allow you to change the properties of your table.
- Table Properties: You can adjust width, height, cell spacing, cell padding, borders, captions and alignment as well as a couple of other advanced features.
- Row Properties: For rows, you can change row type, alignment, and height.
- Cell Properties: Here’s where you can adjust width, height, cell type, scope, and alignments of your cells.
Table Editing Tools
These tools are fairly self-explanatory so we won’t go into much detail but here is where you can quickly change the shape and size of your table by adding or removing columns and rows.
- Insert Row Before
- Insert Row After
- Delete Row
- Insert Column Before
- Insert Column After
- Delete Column
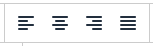
View Source Code
This tool allows you to edit your content using HTML.
Accessibility Checker
The Accessibility Checker will help you ensure that all of your Blackboard content is accessible to students using assistive technologies. It will point out areas where you need to improve accessibility and explain how to make improvements. It’s advised that you use this tool or Ally before publishing any student-facing content.
Insert/Edit Code Sample
For most users, this will mean adding code in HTML but advanced users can also use it to insert a wide range of other types of code including: Javascript, CSS, PHP, Ruby, Python, Java, C, C#, and C++.
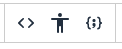
Preview
When you’re done making edits to your content area, this tool will allow you to see what it will look like for students.
Help
Clicking on the Help tool brings up a menu. Here, you’ll see a list of keyboard shortcuts, navigation tools, plugins, and more.
Fullscreen
Click here and you can expand your view to fill the whole screen. Click it again to go back.
Add Content
This is a very helpful part of the menu, even if it looks pretty unassuming. Here, you can insert files (including images) from the cloud, your device, or the course itself and take advantage of any other content-related tools that are currently integrated with Blackboard. This includes things like ALEKS, COD library, Dropbox, publisher content, YouTube, YuJa and more. In short, don’t overlook the simple plus sign at the end of the menu, as it contains a HUGE amount of content-related tools!
Have questions? Email or call us! We’re happy to help.
