
Greetings, colleagues,
in this post, I want to focus on content creation in Ultra. In a previous post, we took a look at copying content from one course to another. We also saw that we can upload different files direction into Ultra from our computers. But sometimes, it might just be best to create the content we want directly into Ultra. Let’s look at a few ways to do that.
First off, in the content area, you need to get the area where your new content will be located. Once you click on the + sign, the options we already looked at pop up. This time, we’ll click on create.

This will open a panel we have already looked at in a previous post. Remember, because I am creating content within a folder located inside a module, I have already reached my 2-level limit, so, I no longer have the option to create a module or folder. Instead, we’ll focus on all the stuff we can do with an Ultra document (formerly “item” in our original course view).
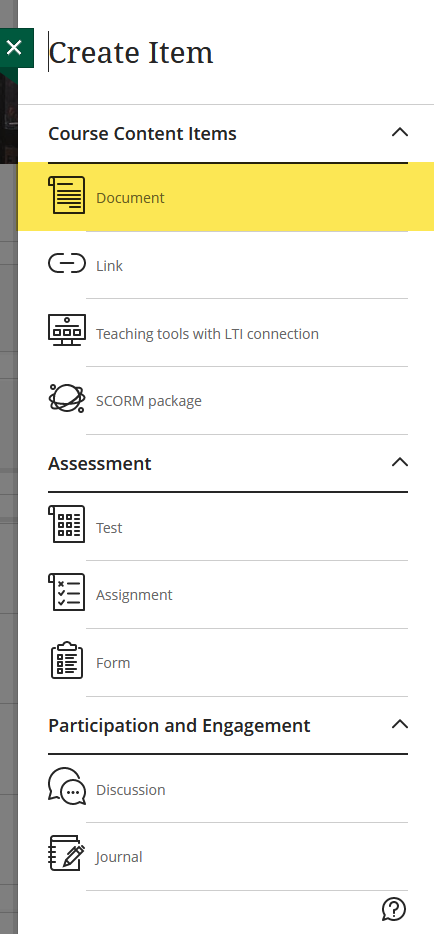
Once you click on document, a new document will open, with a lot of options.
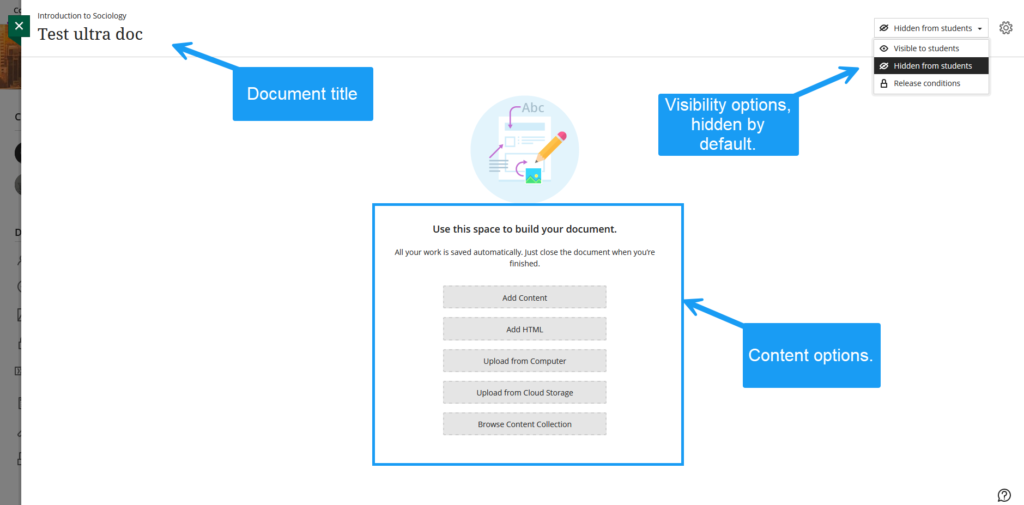
Let’s take a closer look at a couple of things. First of all, in the top right, next to the visibility options, you can open a settings pane for your document:
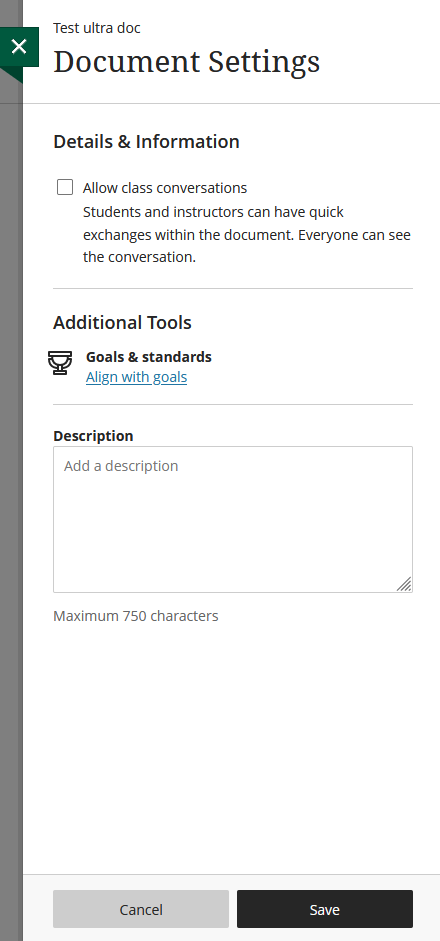
As you can see, it’s pretty straightforward and barebone.
More interesting are the content options.
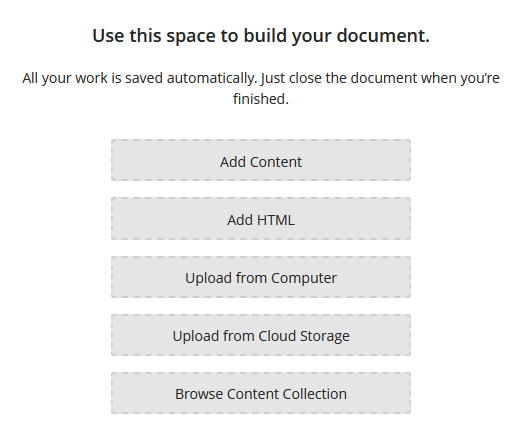
If you click on add content, this will open the editor that we are now familiar with, as it was activated when the migration to the cloud and implementation Ultra Base Navigation were complete.

So, in addition to just typing text. you can do a whole bunch of things, add media, attach files (the paper clip icon), import files from your cloud storage. If you click on the three dots next to the underline, this will open options for strikethrough, subscript, superscript, and code snippets. In other words, with just the editor, you are not limited to text. You can fully create a multimedia document, with links and attachments.
Nerd alert: one thing I miss, from the Original Course View, is that even with just the regular editor, I could toggle the html interface and make the changes I wanted directly in html, so as to make my document exactly the way I wanted it. This is no longer an option.
However, as you can see, we do have the option to add html-formatted items with the add html option. This will open an empty box where you can simply type up in html or copy code from other places, such as embed codes for videos or interactive items.
For instance, I like to embed Canva presentations in my courses. I could simply attach a pdf file but that’s not fancy enough. I want a super duper dynamic version that Canva generates code for.
(Have we talked about Canva before?? We definitely need to talk about Canva).
Anyhoo, for my face-to-face class, I create a presentation for every session that contains the basics of what we are doing that day. Once the presentation is done, Canva will generate a live embed code.
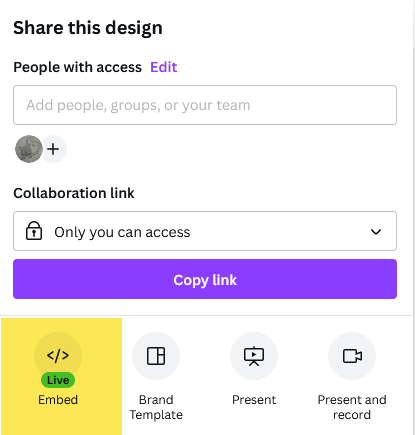
You then only to copy the code generated by Canva:
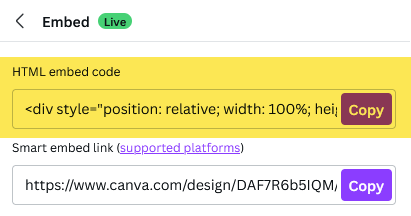
Side note: the point of a live embed is that people can navigate the document where it is embedded and if I make edits to it after it is posted, these edits will appear in Blackboard as well without having to update the document or re-embed it.
The code will be copied to your clipboard. All you need to do is paste it in the html box in Ultra and presto!
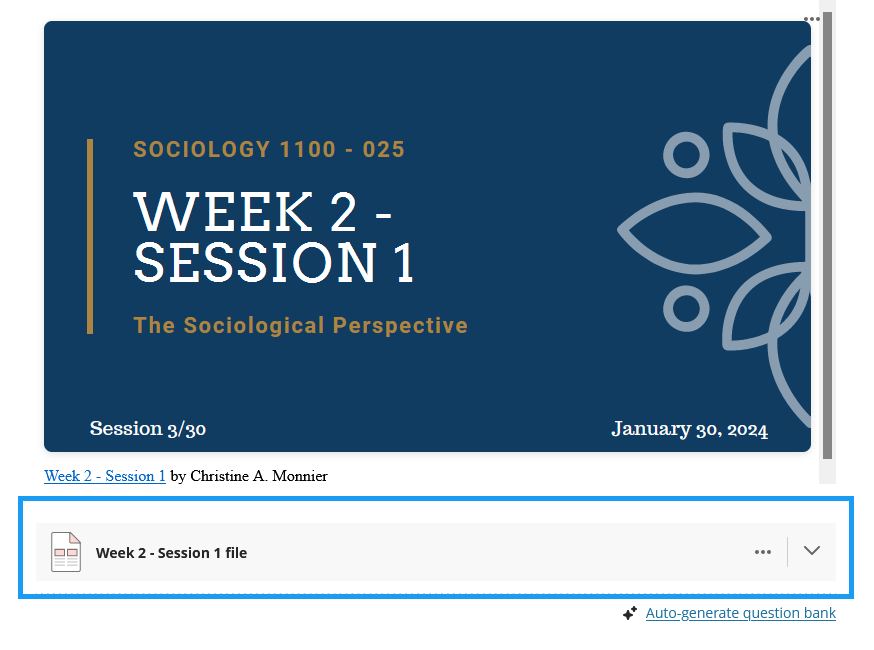
And if I still need to add more stuff to my document, I can still do that:
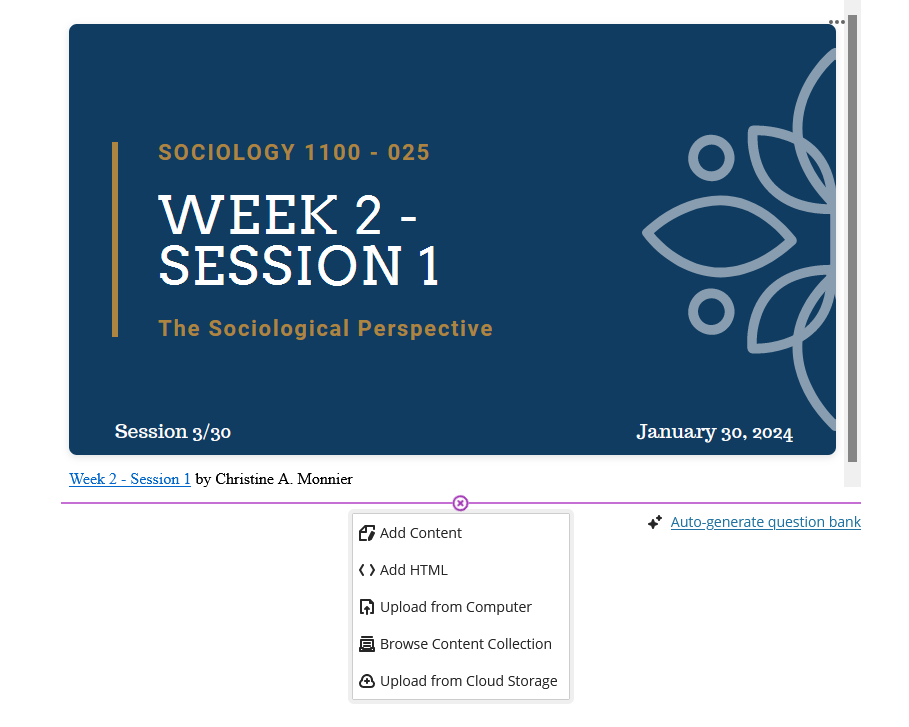
For instance, I can still attach a pdf version of my presentation, available for download for my students to keep, with the upload from computer option and the pdf file will appear underneath my live embed:
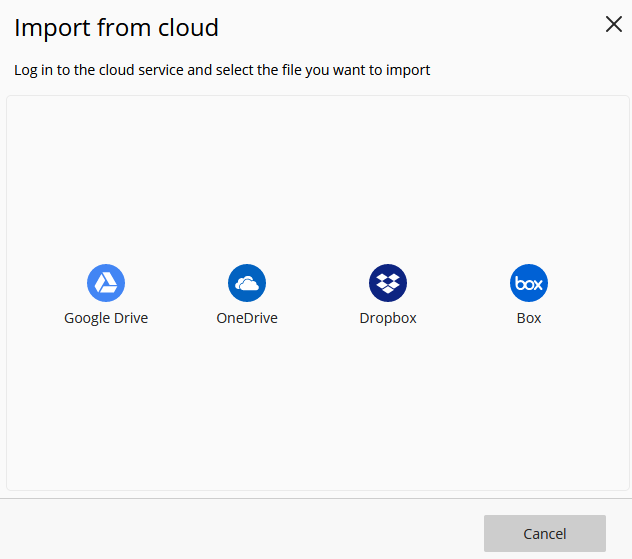
Last tip, you can also import content from cloud storage (if you use Google Drive or Dropbox). Just click on Upload from Cloud Storage and you will get these options. However, you will need to connect your accounts so Blackboard can fetch the files you want.
In other words, it is pretty easy to create any kind of content, in almost any format your want, to generate dynamic documents in Ultra, and make your content exactly the way you want it.
