
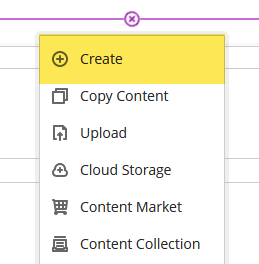
Creating an assignment in Ultra starts the now-familiar way. Click on the + button where you want to create your assignment, and click Create:
Then, select the assignment option:
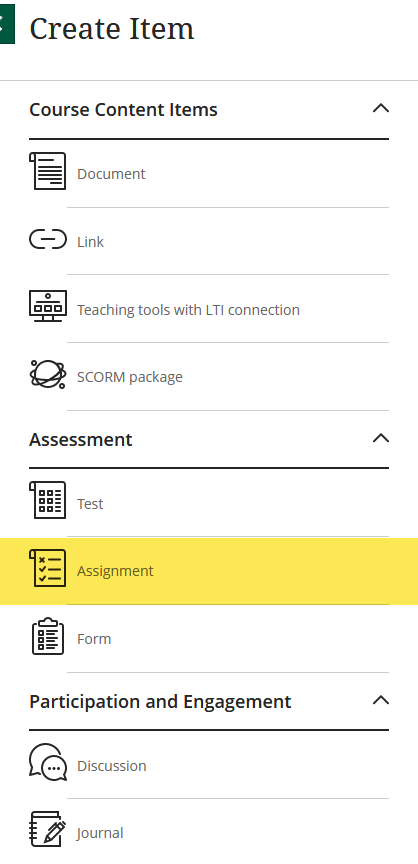
After that, everything will pretty much look the same as with tests. You’ll be taken to a blank assignment page. In this case, it is more likely that you will choose from the three options to either type up your instructions directly into the editor, upload a file from your computer, or upload a file from a cloud service.

And the rest of the options are the same as with tests.
Quick tip learned from experience: I thought I was being so smart when I initially set up assignments with basically one essay question. Fine, that worked, except I could not do the inline grading. Instead, I just re-did my assignments using the Add text option. Students can either type up their answers in the editor or upload a file themselves, which will show for inline grading.
Also note that you also have an option to auto-generate an assignment with AI. I have not tried it. I don’t think I have an actual need for it as of now, but I suspect it also only works with text or links to articles on the web, not videos, nor uploaded files.
Of course, once you create a test or assignment, and set it up, it will appear in the course calendar as a clickable item so students can access it directly from the calendar, without having to go look for it (that’s also the case in the original course view). And it will also show in the gradebook.
Which means, at this point, we are about ready to start exploring the gradebook, and the many options it offers to view your entire gradebook in two different views, view individual students submissions and grades, and grade work from there.
For now, I’m going limit myself to some basic gradebook options. As always, navigate to the gradebook tab and you will be taken to the default gradebook view:
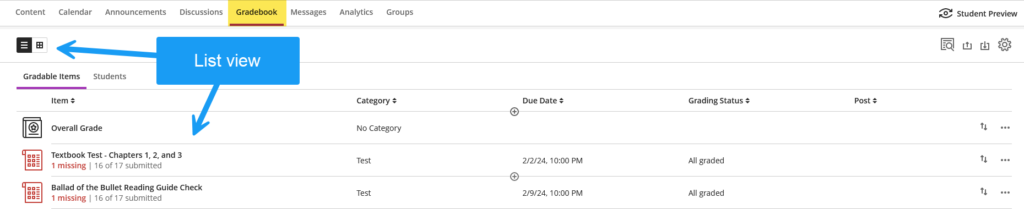
The list view presents your gradable items as, well, a list, with some additional information by item: category (if applicable), due date, grading status, where you can see how many submissions are ready for grading, and how many grades to post. That last bit is important: by default, when you grade an item, Ultra does not post it. You have to do one extra click to either post them individually, or you can post them all at the same time.
I’m beginning to suspect Ultra thinks we’re all this kid…

and maybe there should be some extra protections in place so we don’t screw up all the time… not an unreasonable assumption (jk… well).
The grid view looks pretty much like the gradebook in the original course view:
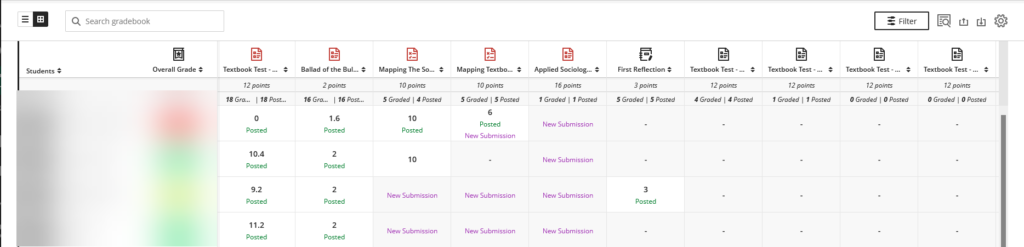
Note the distinction between “graded” (not visible to the students) and “posted” (visible to the students). When you create a test, you will notice in the test setting options that you can opt to automatically post the grades, which might be helpful when your test is made up entirely of auto-graded items.
In the list view, you can also select to list not the gradable items, but the students:
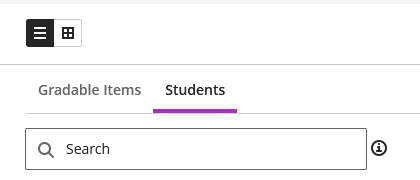
This is what you will then see:

The last access date is helpful for our reporting. This page only notes the overall grade, if you have set it up in your gradebook. You would then just click on a student’s name and you would see all their submissions and grades.
The gradebook also has a bunch of basic settings that might be of interest. Click on the gear to open them:
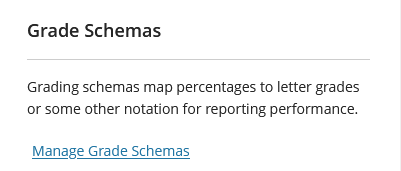
The first setting is the grade schema. By default, Ultra will use a standard grade schema to determine an overall grade. You can change that schema by clicking on the Manage Grade Schemas. This will open a page where you can see which will show you which grade schema is currently in place.
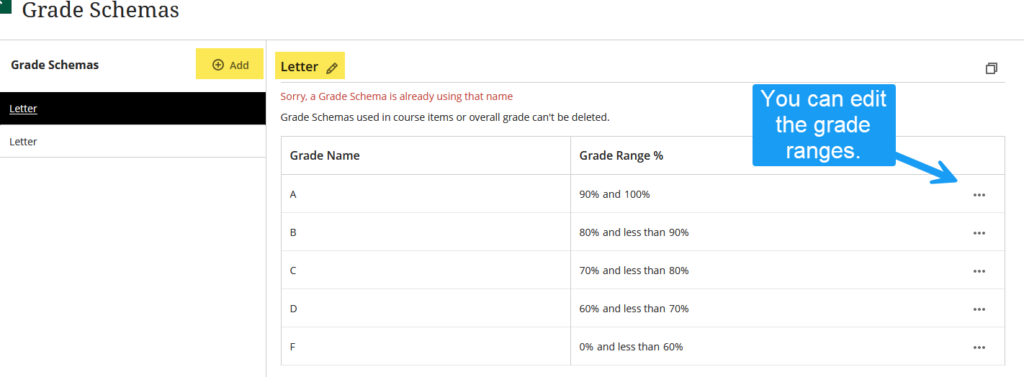
You can either edit the default schema or create a new one entirely, give it a different name, and then use that new schema for your overall course grade.
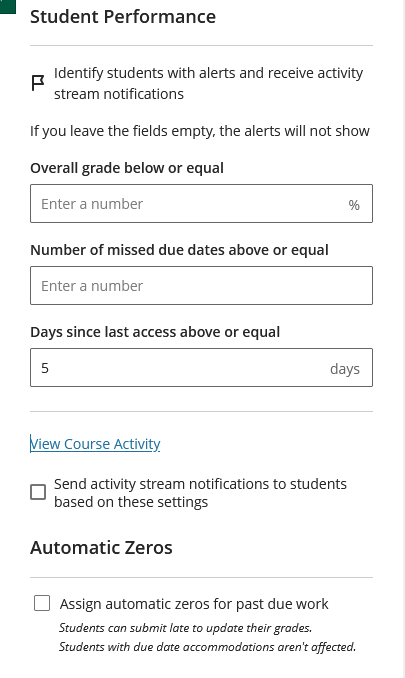
Did you guys ever use the retention center in the original course view? I posted about it four years ago. The retention center allows you to set up a bunch of alerts about student performance, based on course access, completion, grades, etc. And the alerts can be automated so that all the students who meet certain conditions receive a message. In effect, you can either use some default rules created by Blackboard, or create your own, and Blackboard would automatically notify students. The problem is that the retention center is not super intuitive nor easy to use. Not to mention that whoever wrote the text for the automated alerts was clearly raised by wolves and never interacted with actual humans.
Well, the retention center does not carry over in Ultra. I’m sure there are replacement options I have not yet seen, but one option is located under the gradebook setting under Student Performance:
If you use categories and weights, you can also set them with these settings under Overall Grade and Grade Categories:
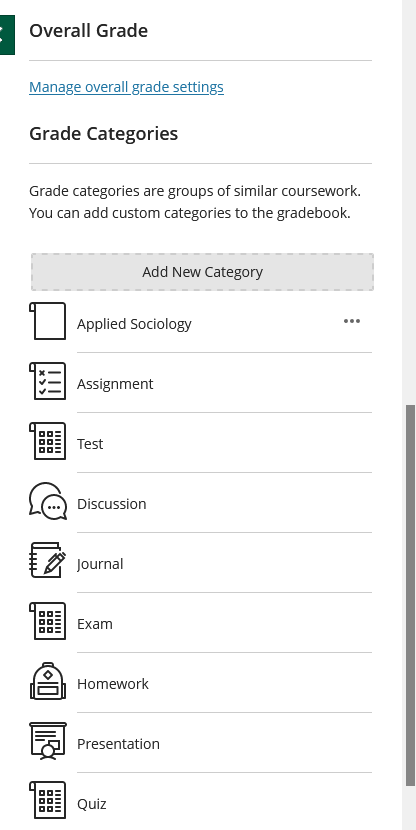
Obviously, you can either use the default categories or create your own. Once you have done that, you can also click on Manage overall grade settings for more advanced options, such as weights:
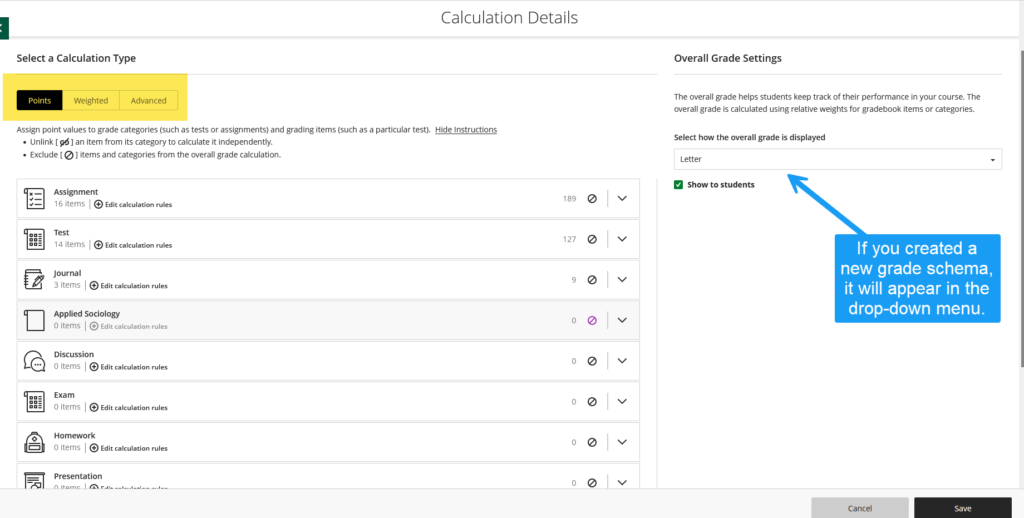
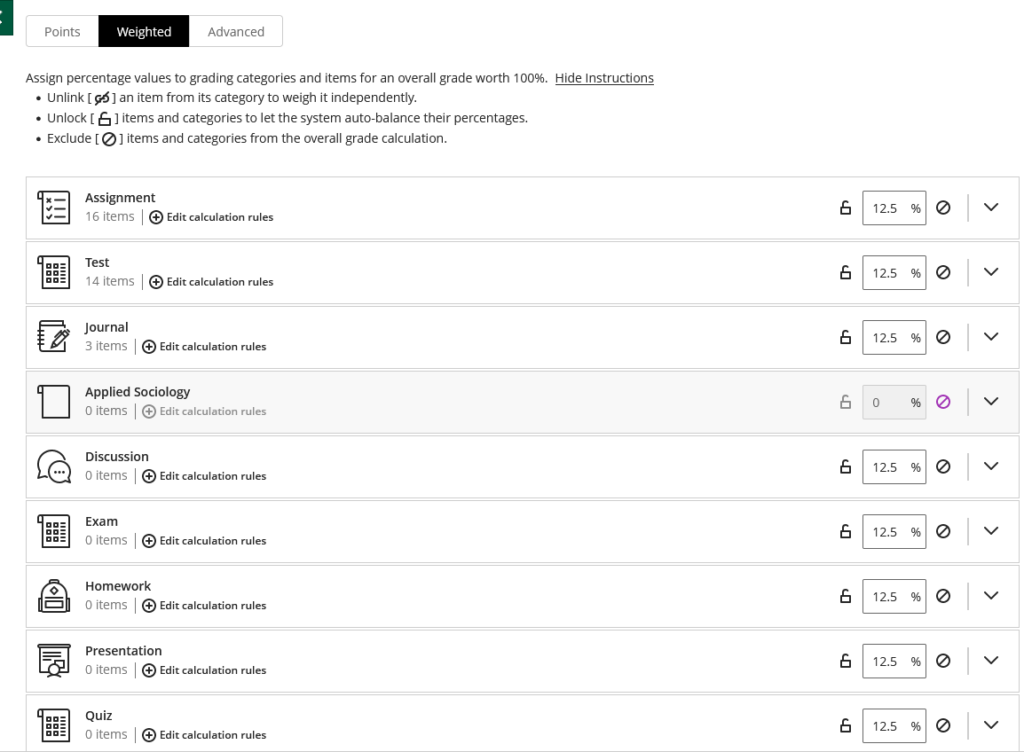
The default view shows just the straight point addition. But you can select weighted or advanced, for those of us with the intestinal fortitude for it.
The weighted view looks like this and you can edit all the percentages.
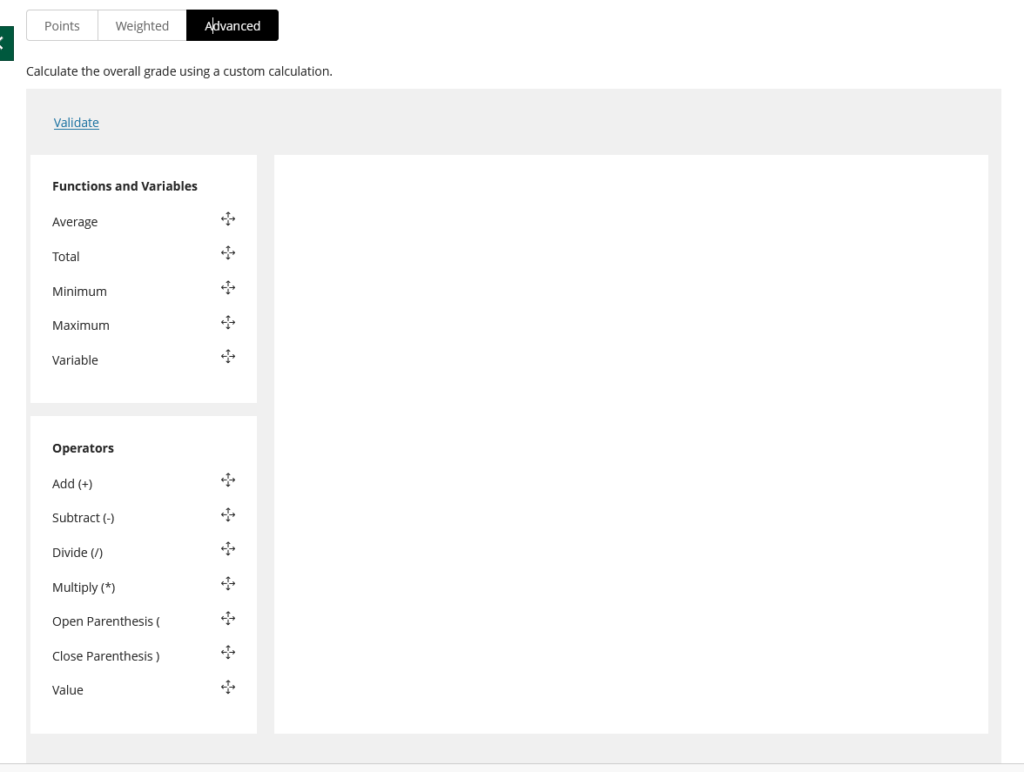
And the advanced view allows you to create calculated formulas (and drive yourself mildly insane):
So this pretty much covers the basics for the gradebook in Ultra. As far as I can tell, the options are the same as the gradebook in the original courseview. They just look a little easier to find and set in Ultra.
I’ll save the actual grading and submission retrieval for another post.
The Blackboard documentation for the Ultra gradebook is here, for the nerds among you.
